Seven Common Mistakes That Ruin Chapel Interior Photos
Chapel interiors fail for predictable reasons: flat eye-level framing, leaning verticals, mixed light, and heavy editing. Here's what goes wrong and how to correct each one on site.
A chapel forgives a lot. A scratched pew, a crooked hymn board, a dust mote drifting through a shaft of light — none of that sinks a photograph. What sinks a photograph is a photographer standing in the wrong place, holding the camera at the wrong height, and then trying to rescue the file afterwards in editing software. The room already did the hard work: the stone, the glass, the way afternoon light lands on plaster. Your job is to record that without getting in the way.
Most disappointing chapel photos come down to seven habits. They are common, they are fixable, and most of them cost nothing but a tripod, a spirit level, and half an hour of patience.
Mistake One: Shooting Everything at Eye Level
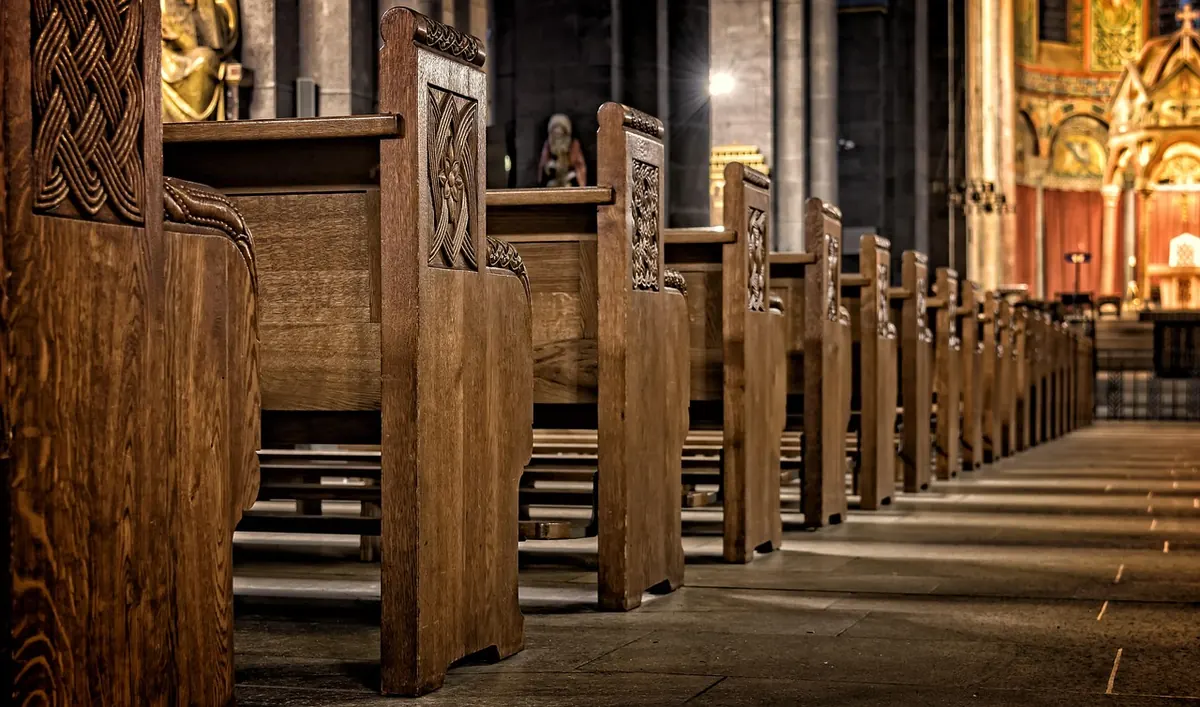
Standing upright in the centre aisle is the default, and it is the reason so many chapel photos look like snapshots from a guided tour. At chest height, pew backs become a repetitive wall, the altar shrinks into the distance, and the room goes flat.
Chapels are vertical buildings. They ask to be photographed from below or above the human line. Kneel in the aisle and the flagstones stretch out as a leading line toward the chancel. Sit in a pew and shoot across the rows, and you get rhythm instead of obstruction. Raise the camera above the pew backs on a tall tripod and the whole floor plan opens up.
Then step sideways. Move two or three pews off the centre axis and shoot at an angle. Symmetry is satisfying, but a slight diagonal reveals side chapels, carved corbels, and the depth of a wall that a straight-on frame hides completely.
Mistake Two: Ignoring Verticals
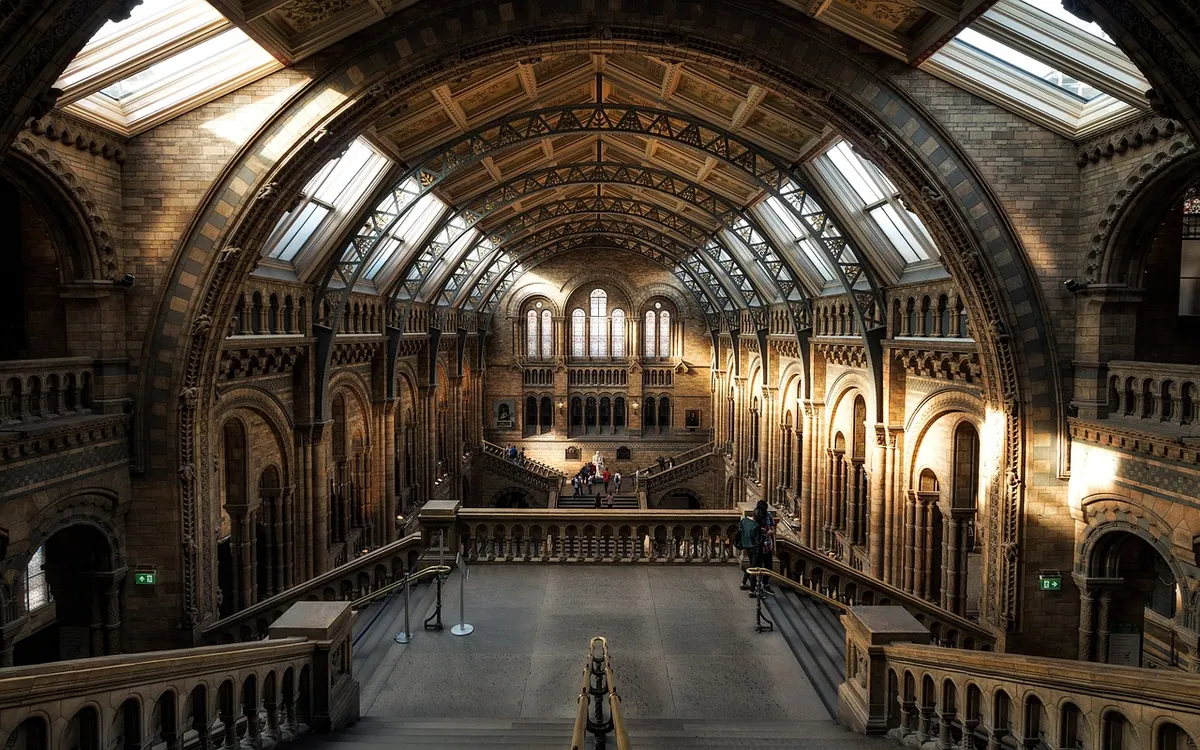
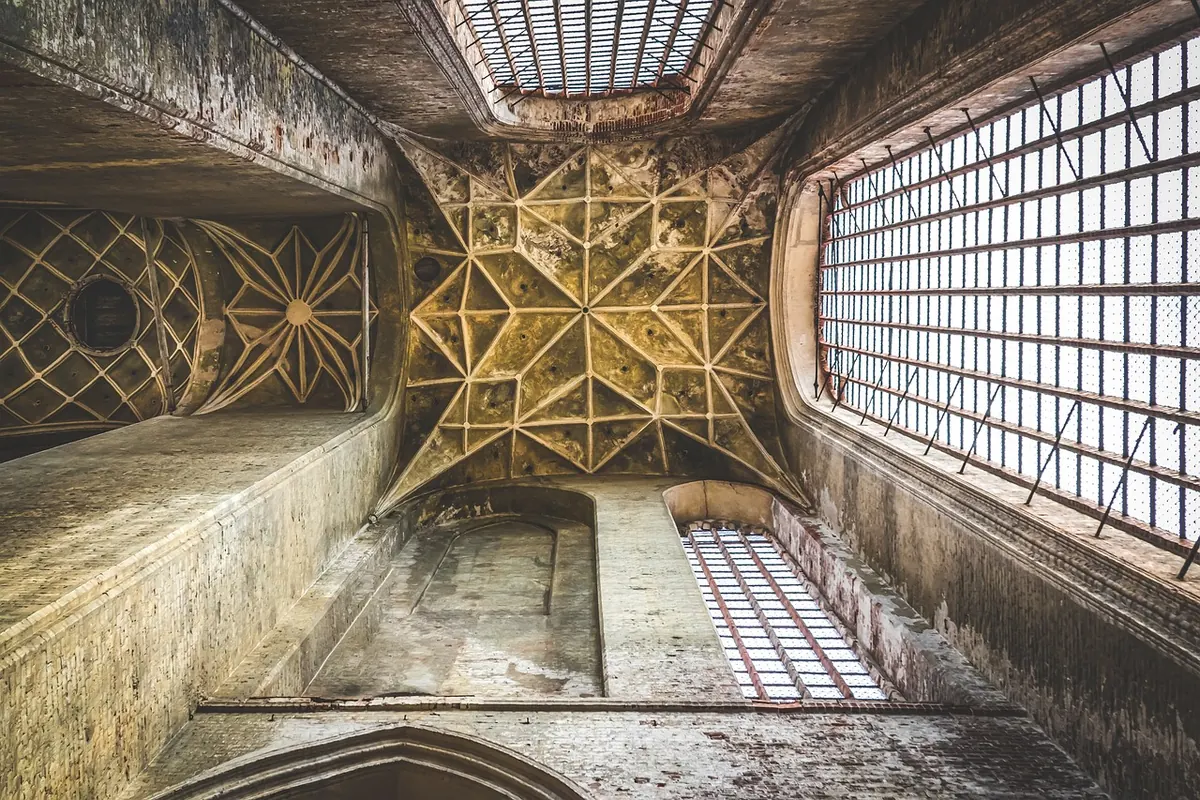
Tilt the camera up to fit the roof, and every pillar in the frame leans inward like a closing book. Stone columns, window mullions, and door jambs should stand parallel to the sides of the photograph. When they don't, the building looks tipsy, however good the light is.
The correction is routine, but it has to start in the camera:
- Level the tripod head with a bubble level, not by eye. Eye-level judgement is reliably wrong.
- Keep the camera level even if it means extra ceiling and floor in the frame.
- Frame wider than the final image. Correcting lean consumes pixels at the edges, and you'll crop them away.
- Straighten in editing with a vertical or transform tool, then crop back to a clean rectangle.
- Zoom to full size and check the window bars and door frames before exporting. A single leaning mullion will undo the whole frame.
A wider lens helps because you can keep the camera level and still include the arch. If you have a shift lens, use it; if not, shoot loose and crop with confidence.
Mistake Three: Treating the Windows as a Problem
Windows are both the light source and, often, the subject. The mistake is landing between two positions: the glass is partly blown out and the pews are partly muddy, so neither the colour nor the room reads properly.
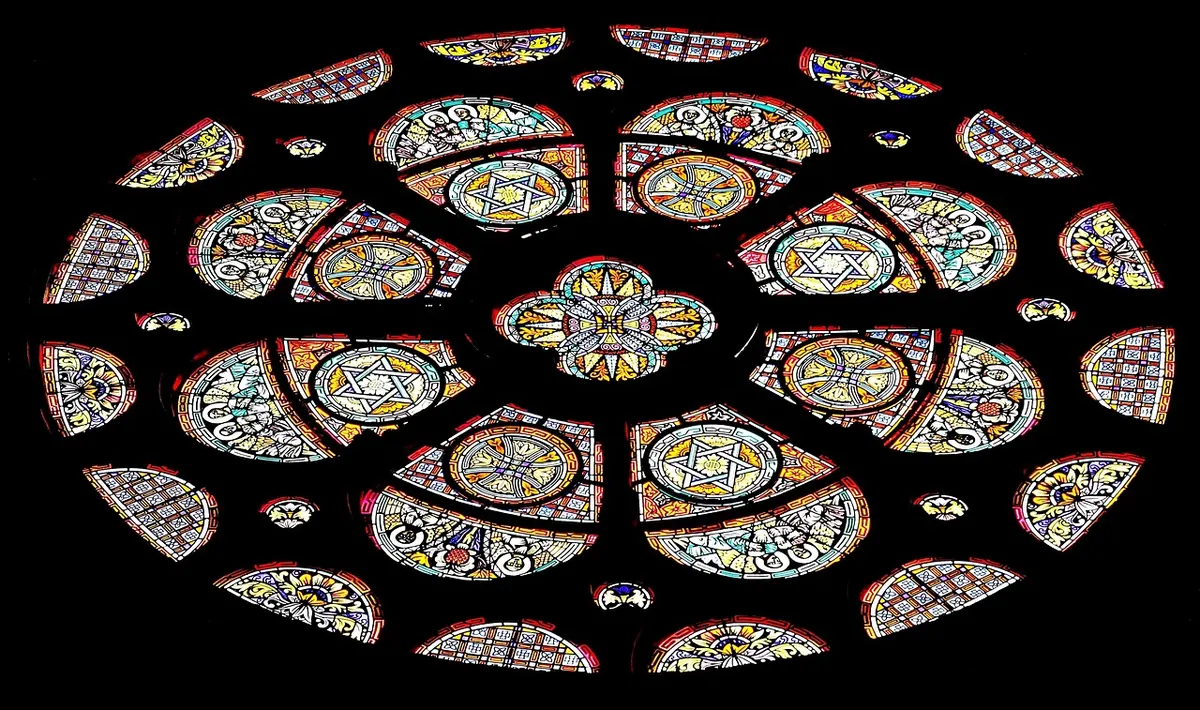
Pick a side. Expose for the glass and let the interior fall into warm shadow — that's honest, atmospheric, and often the most moving version of a small chapel. Or expose for the room and blend a second, darker frame for the window, masking along the window reveal rather than across the whole image so the blend stays invisible.
Timing does more than any technique. A bright overcast day gives even, soft light through clear glass. Direct sun turns small windows into blown patches and hard-edged shadows across the floor. If the forecast offers cloud, take it.
Mistake Four: Letting Mixed Light Set the Colour
Add up what's usually in a chapel: cool daylight from the windows, warm tungsten from a side lamp, greenish tubes in a vestibule, and stained glass throwing red and blue onto the nearest pillar. Auto white balance will chase each of these and produce a set of photos that don't belong together.
Decide on one source. Switch off the artificial lights if you're allowed, and let daylight do the work. If the lamps stay on, switch them all on and commit to that warmth. Set white balance manually in camera, shoot raw, and keep the same setting for every frame in a sequence — a grey card held near the chancel saves a lot of guessing later.
Mistake Five: Over-Processing the Stillness Out of the Room
Heavy editing is the quiet killer. Aggressive HDR flattens a chapel into something architectural but lifeless, and it leaves pale halos around window reveals and arches where the darkest and brightest areas meet. Pulled-up shadows make old stone look like a hotel lobby. Saturated glass turns deep crimson into poster red, which is not what the maker's workshop produced.
A fair rule: process for the light you actually saw. Keep shadows shadowed. Let the glass glow without neon. Pull clarity back on stonework, where it exaggerates every pore and adds a gritty sheen. Watch the two places where artefacts show first — the join between window and wall, and the underside of arches. Fix lens distortion and clean up dust spots, because sensor dust is brutally visible against a bright window.
If the glass is blown out and the pews are mush, you didn't photograph a chapel. You photographed a compromise.
Mistake Six: Forgetting Scale and Human Detail
A wide frame with nothing to measure against becomes wallpaper. A single chair, a kneeling cushion, a candle stand, or a doorway with someone standing in it gives the eye a reference and tells the viewer how tall those arches really are.
Be careful with people. Someone praying is not a prop. Ask before including anyone recognisably, or wait, or place them at the far end of a frame where they read as a silhouette. If a service is underway, come back later — and check with whoever is on duty about photography inside; many chapels have their own expectations, whether or not a sign says so.
Then shoot the details that carry the story: the worn altar rail, the hymn numbers, the step hollowed by generations of feet. Six detail frames can say more about a place than one perfect wide shot.
Mistake Seven: Rushing the Room
Twenty minutes is not enough, and most people spend the first ten of it setting up. Walk the chapel once with the camera in the bag. Notice where the light falls, which side chapel glows, where the flagstones are polished and where they're dull. Then unpack.
Work systematically: one wide, one mid-range, one detail, then repeat from a different position. Use a tripod, switch stabilisation off, and trigger with a two-second delay or a remote so the frame is genuinely still. Focus manually in live view at a middle aperture — around f/8 is usually a good balance between depth of field and sharpness — and check the corners, not just the centre. Bring a cloth and a blower; dust on the front element shows up as soft grey blobs against every bright window.
A Last Look Before You Zip the Bag
- Verticals straight, checked at full size
- Window highlights holding detail — or deliberately, cleanly blown
- White balance consistent across the whole set
- Shadows still reading as shadow
- At least one wide, one mid, one detail
- Dust spots, stray tripod feet, and your own shadow out of the frame
Chapel interiors reward slowness more than gear. Level the camera, get low or get high, choose one light source, and leave the file mostly alone. Do those four things and the room will look the way it felt when you walked in.
Photo: Tama66 / Pixabay