Beginner's Guide to Camera Settings for Your First Chapel Shoot
A practical walkthrough of aperture, shutter speed, ISO, and white balance for chapel interiors, with starting settings you can use on your first visit.

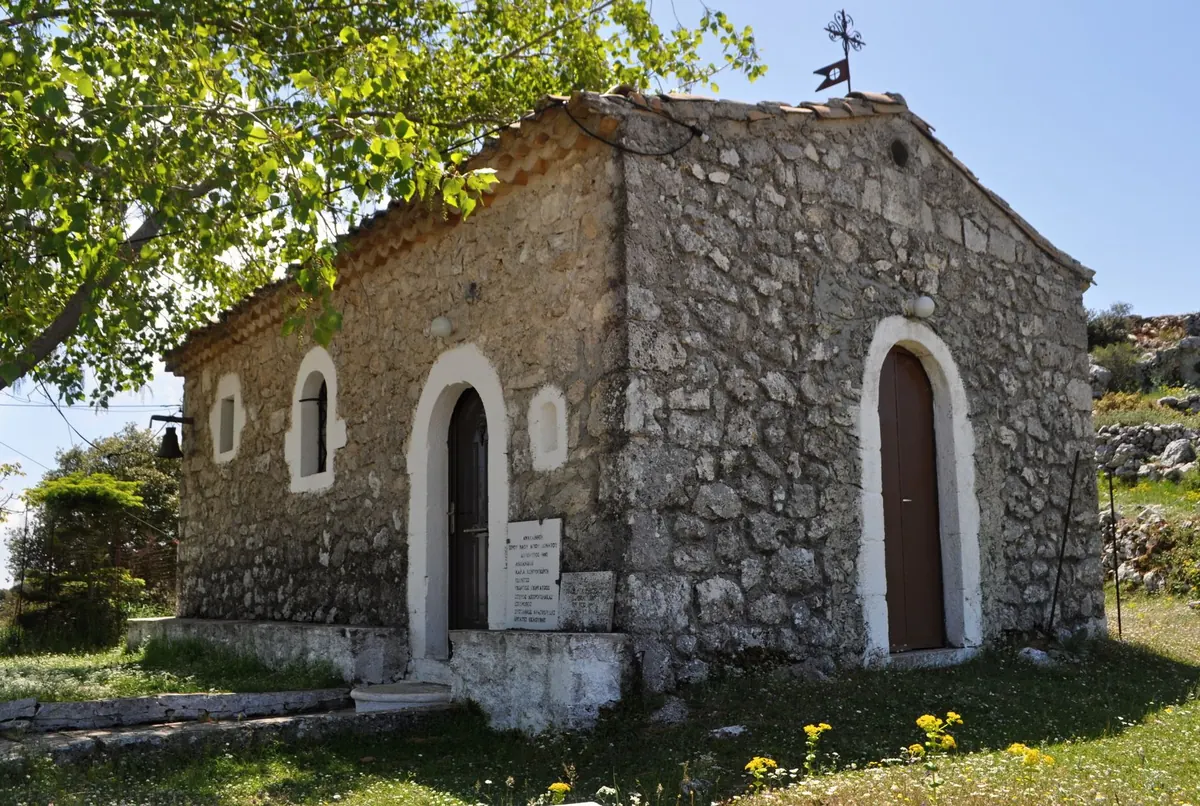
A chapel gives you light you cannot recreate in a studio. Cool daylight drops through stained glass, wall sconces throw warm pools across stone, and the far aisle looks far darker in a photograph than it did to your eye. That gap between what you saw and what the camera recorded is almost always a settings problem, and it is a solvable one.
You do not need to know every item in the menu before your first visit. Four controls do most of the work: aperture, shutter speed, ISO, and white balance. Learn how they trade against each other in a room where light is scarce and flash is usually unwelcome, and you can walk in calm instead of guessing.
Read the Room Before You Touch a Dial
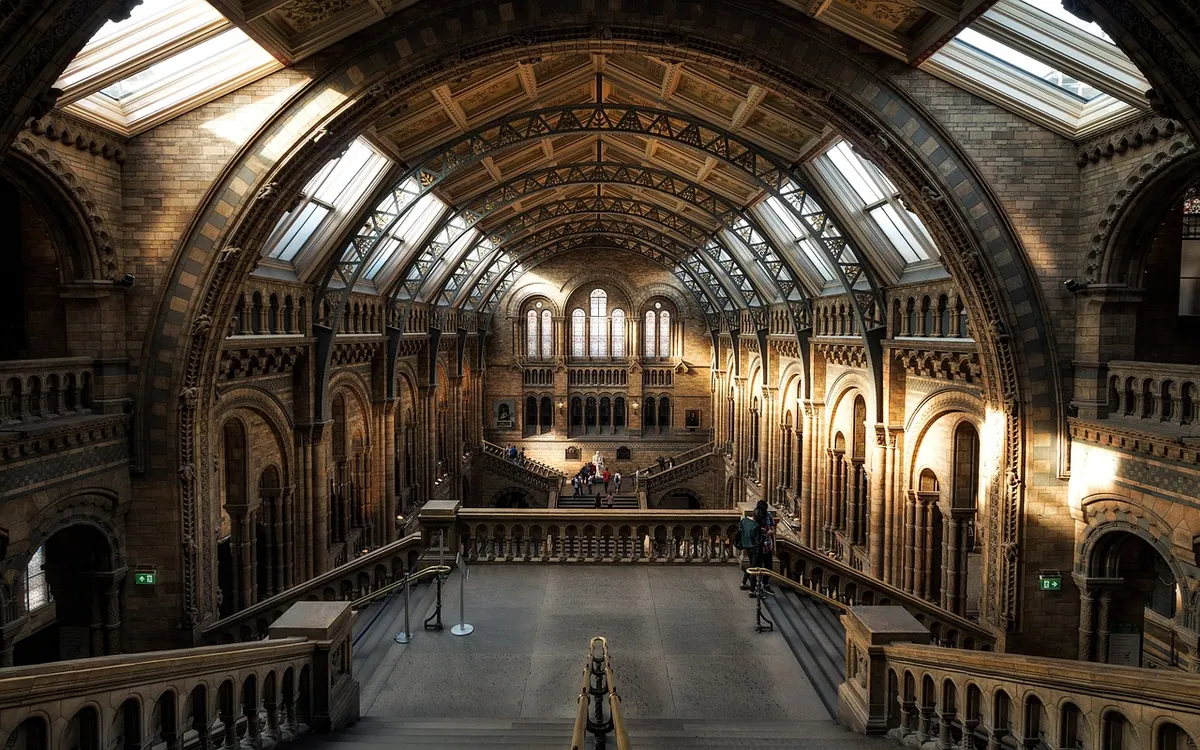
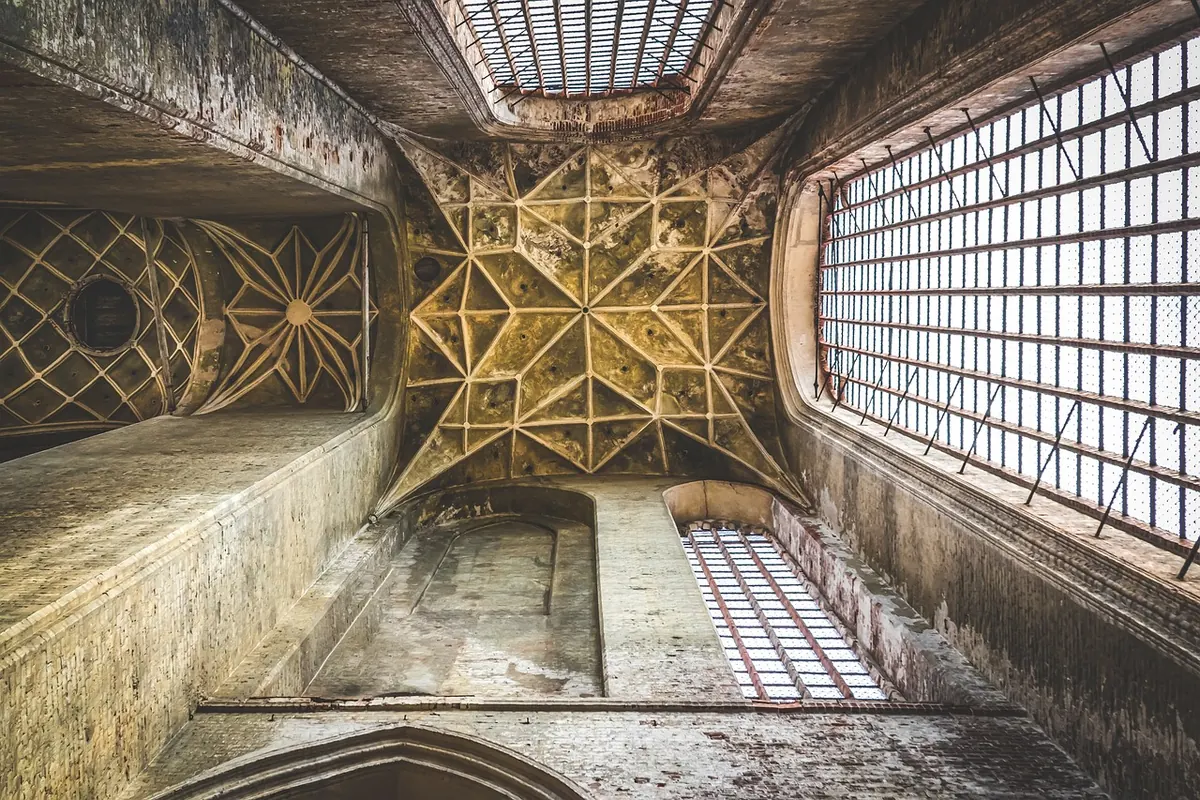
Stand still at the back and look. Find the brightest thing in the frame: a window, an open door, a lit altar. Notice where the light falls away. Decide whether the lamps are warm, the daylight cool, or both at once, because most chapels give you a mix.
While you are standing there, check the practical rules. Tripods are often restricted during services, and flash is frequently banned outright. Ask a steward if you are unsure. Knowing your limits in advance saves you from improvising in a silent room.
Aperture: Deciding How Much Should Be Sharp
Aperture does two things at once. A wider opening, like f/2.8, lets in more light but keeps only a thin slice of the scene sharp. A narrower opening, like f/8, needs more light but holds columns, arches, and pews in focus from front to back.
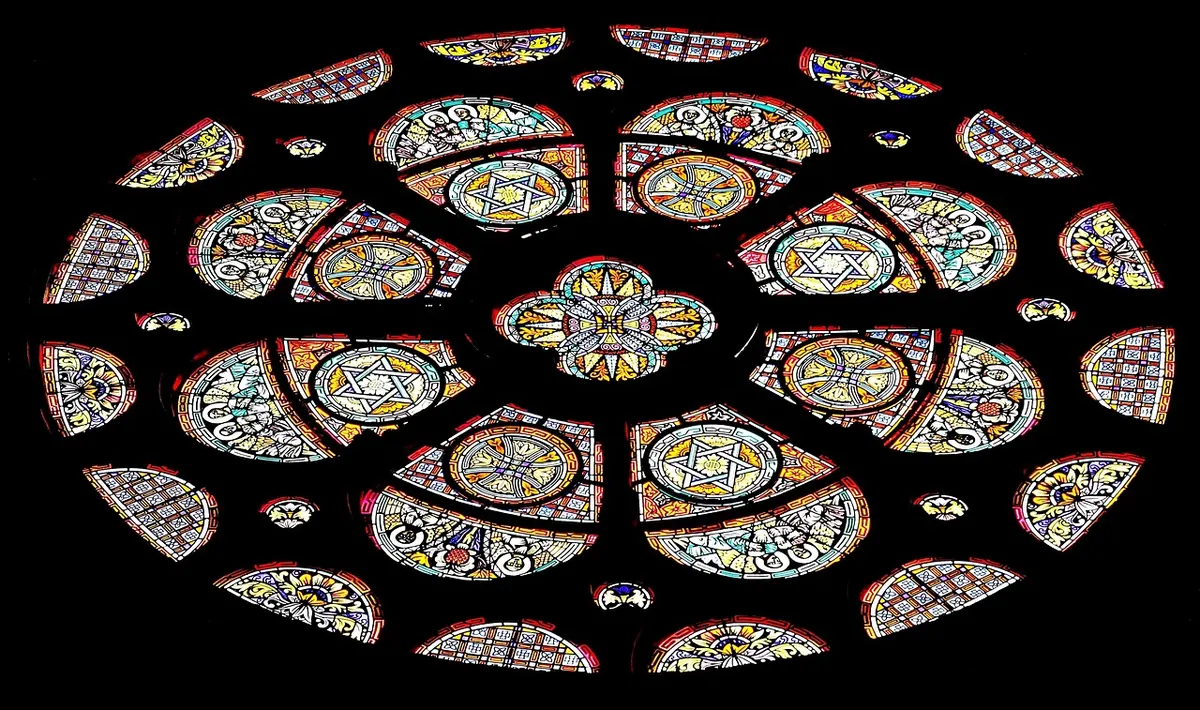
For a wide view down the nave, f/5.6 to f/8 is a sensible target if you can support the camera. If you are handholding in dim light, open up to f/2.8 or f/4 and accept that the front pew might be sharper than the altar. For details — a hymn book, a candle, a carved bench end — a wide aperture with one deliberate point of focus looks better than everything being half-sharp. Stained glass is the exception: the window is bright, so you have light to spare and f/5.6 to f/8 keeps the leading crisp.
One useful habit: your lens is usually sharpest about two stops down from wide open. If your zoom starts at f/4, f/5.6 or f/8 will generally look cleaner than either extreme.
Shutter Speed: The Honest Limit
A long-standing rule of thumb for handheld shooting is to keep your shutter speed at or faster than one over your focal length. A 50mm lens wants roughly 1/60 or faster. Image stabilisation buys you a couple of stops, but it does not stop people from moving.
- People lighting a candle or walking: 1/125 or faster to freeze them.
- Still interiors, handheld: 1/60, braced against a pew back if you can.
- Tripod, empty building: shutter speed stops mattering — seconds are fine.
If your camera has an electronic shutter, use it. The silence suits the room and keeps you from drawing attention during a quiet moment. Whatever you choose, a slightly grainy sharp photograph beats a clean blurry one every time.
ISO: The Dial You Will Reach For Most
ISO is your last adjustment, not your first. Set the aperture you want, pick the shutter speed you need, then raise ISO until the exposure lands. ISO 800 is close to free on most cameras made in the last decade, and 1600 or 3200 is often perfectly usable.
You will not know your own camera's limit until you test it. Photograph a dim corner of your living room at 800, 1600, 3200, and 6400, then look at the files on a computer rather than the back screen. Pick the highest value you are comfortable with and treat it as a ceiling. Noise reduction in editing can soften grain; nothing recovers a blurred frame.
White Balance: Taming Mixed Light
Chapels are the classic mixed-lighting problem. Auto white balance tends to swing between warm and cool from one frame to the next, which makes a set of images look inconsistent even when the exposures are fine.
Shoot in RAW and set a fixed value instead. As rough starting points, candlelight and older tungsten sconces sit around 3000–3400K, daylight through windows around 5500K, and a room with both usually lands somewhere in the 4000–4500K range. If you would rather not think in numbers, a grey card or a custom reading from a white wall gives you a reliable baseline.
Do not automatically neutralise the warmth. Golden light on old stone is often the reason the room feels the way it does.
Three Starting Recipes
- Handheld, no tripod, people present: aperture priority at f/2.8–f/4, minimum shutter 1/60, auto ISO capped at 3200 or 6400, white balance fixed around 4000K, RAW.
- Tripod, quiet building: manual mode, f/8, ISO 100–200, two-second timer or a remote release, and bracket a stop either side to protect the windows.
- Stained glass close-up: expose for the brightest panel, f/5.6, low ISO, and check the histogram so the colour does not clip to white.
Check the histogram after your first few frames rather than trusting the brightness of the screen. If highlights are piled against the right edge on a window shot, take another frame darker. Shadows in a chapel are easy to lift later; blown highlights are gone.
A Simple Plan for Your First Visit
Arrive early, while the building is quiet and you can move without disturbing anyone. Ask about tripods and flash before you set up. Take five minutes of test frames at different ISO settings so you know what your camera is doing in this particular room, then settle into aperture priority with auto ISO and a floor on your shutter speed. Move to manual once you understand the exposure you want.
Review your images on the back screen for composition and framing, but judge colour and noise later on a proper display. Keep every file in RAW so white balance remains a decision you can change rather than one you got stuck with.
Most first chapel shoots go wrong in the same way: the photographer tries to fix everything at once. Pick one priority per frame — the perspective of the nave, the colour of a window, the expression of someone pausing to pray — and let the other settings serve it. Do that a few times and the controls stop feeling like obstacles and start feeling like a vocabulary.
Photo: stokpic / Pixabay